
Create a receiving warehouse
Choose Supply Chain → Warehouses → Warehouse.
Before you start
Use your authorized ERP account and the correct company. These screenshots use fictional staging records. Replace the example quantities, dates, warehouses and values with your approved business information. Submission affects the relevant workflow or stock ledger; review the draft first.
Addresses used in this tutorial
ERP_URL is your organization’s ERP address. ACADEMY_URL is the Academy base address: staging uses https://erpstaging.nexcommand.ai/academy; production uses https://academy.nexcommand.ai. Saved record IDs and temporary draft IDs differ between installations. Course IDs and element IDs in the example are not portable to another installation.
Step-by-step instructions
Open warehouse setup
Choose Supply Chain → Warehouses → Warehouse.
- Example / selection
- Warehouses
- Expected result
- The warehouse hierarchy opens.
{ERP_URL}/desk/nexcom-workflow/Supply%20Chain/Warehouses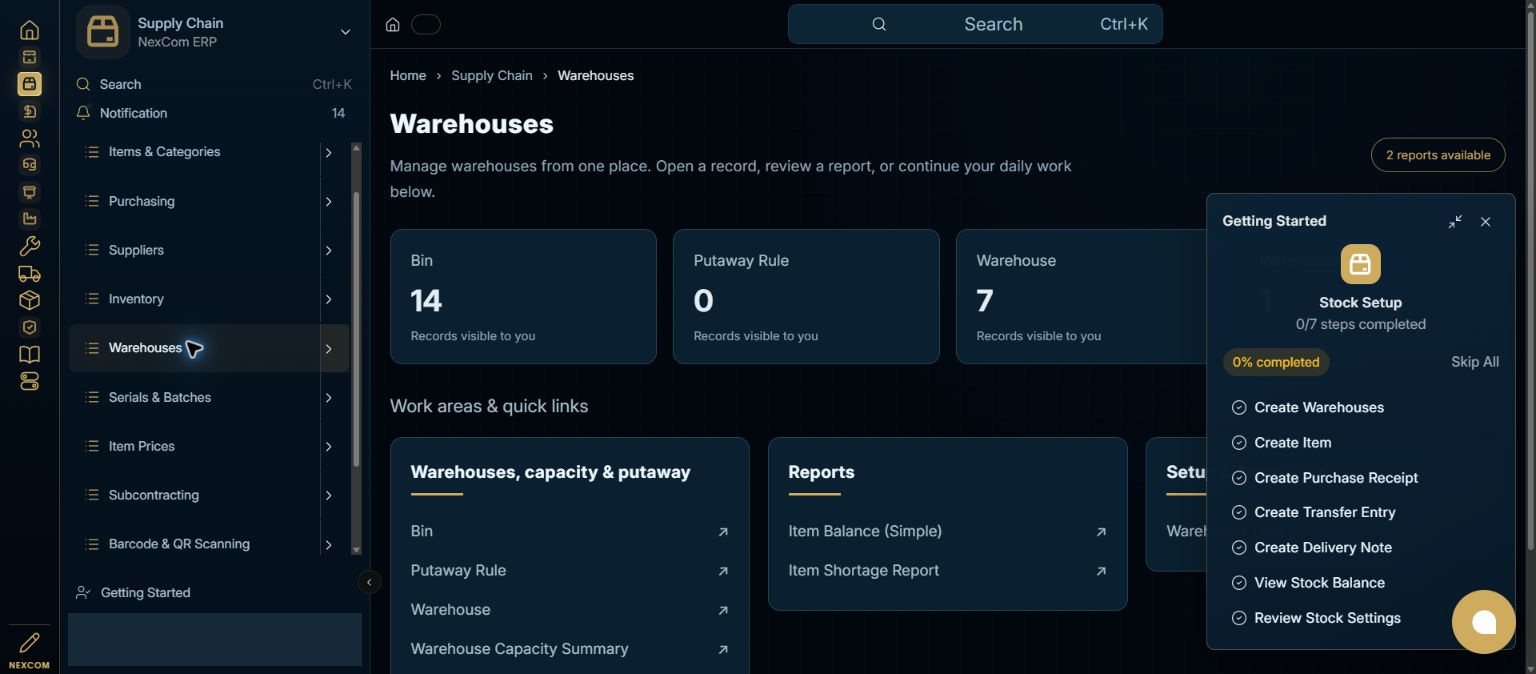
Select the parent
Expand the company warehouse tree. Select the intended group and choose Add Child.
- Example / selection
- All Warehouses - NexComm AI
- Expected result
- The new warehouse belongs under the selected parent.
{ERP_URL}/desk/warehouse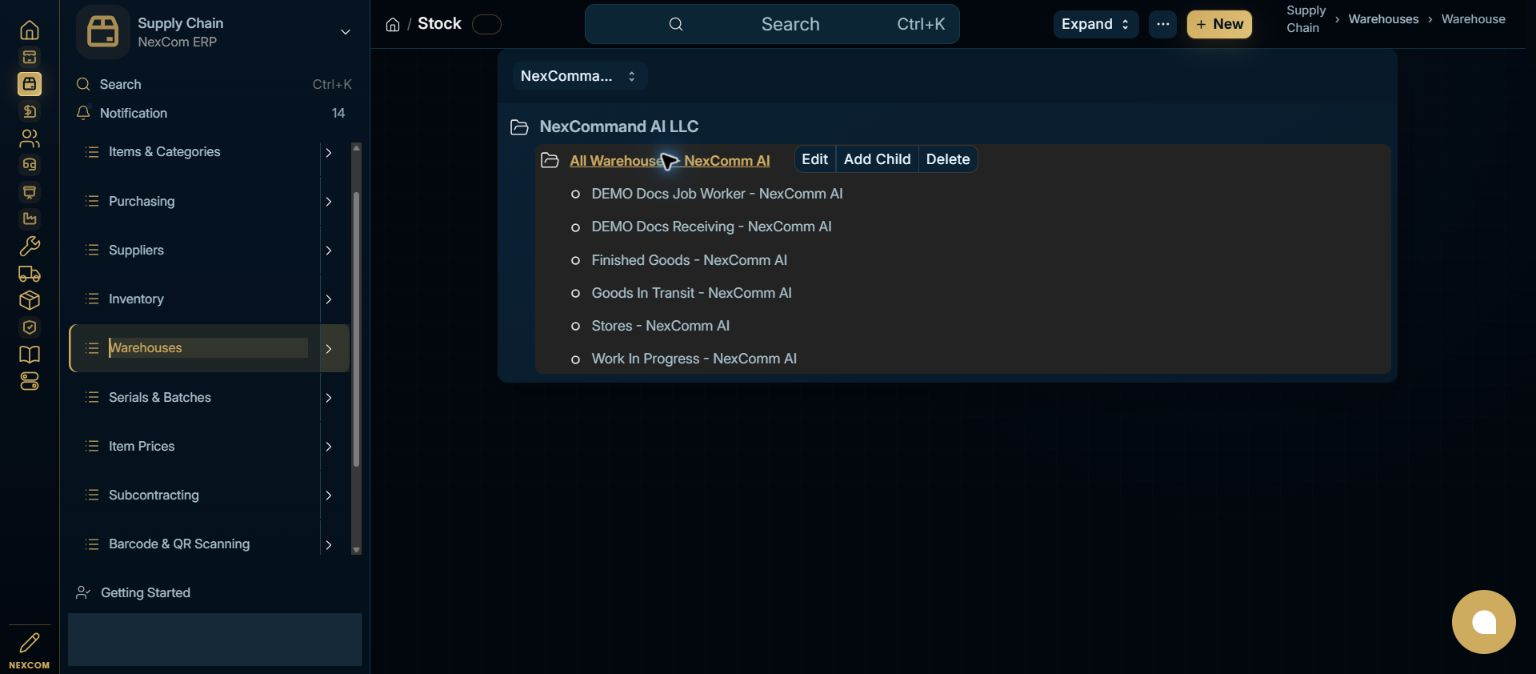
Name the warehouse
Enter a clear warehouse name and the correct company. Leave Is Group off for a warehouse that will hold stock.
- Example / selection
- DEMO Docs Receiving
- Expected result
- A leaf warehouse is prepared.
{ERP_URL}/desk/warehouse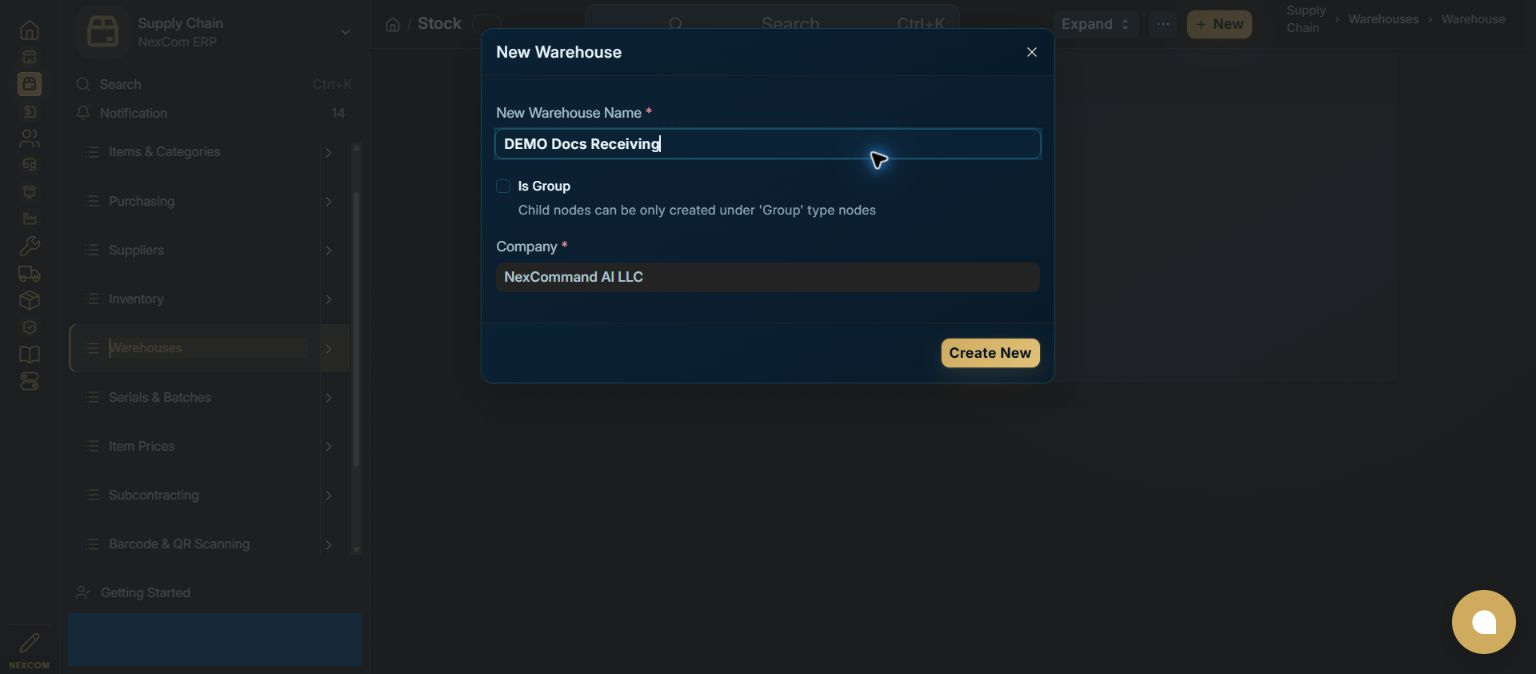
Verify its position
Create the warehouse and check that it appears beneath the intended parent.
- Example / selection
- DEMO Docs Receiving - NexComm AI
- Expected result
- The hierarchy shows the new warehouse.
{ERP_URL}/desk/warehouse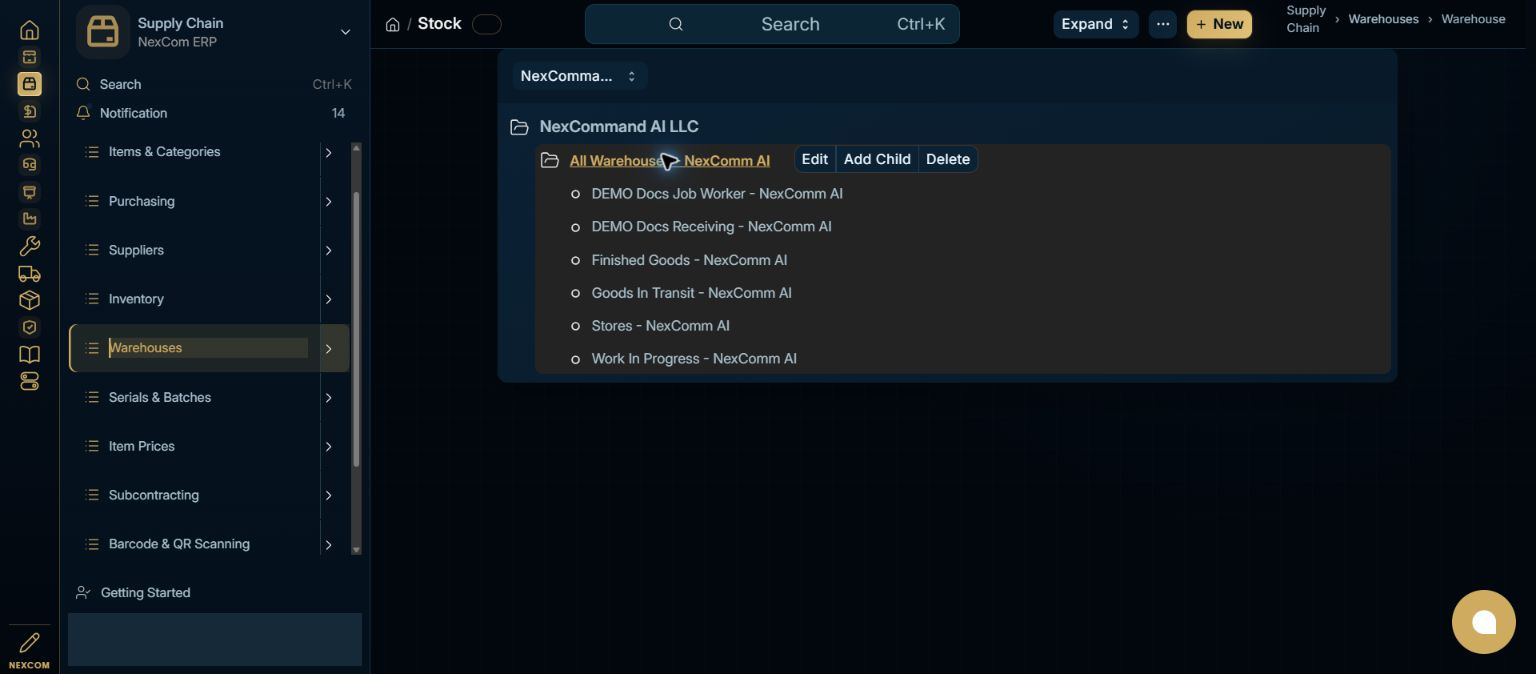
Review company and accounting
Open the warehouse details. Review Parent Warehouse and Company. Follow the field guidance for the warehouse account: a blank explicit account uses the applicable parent/company default. Consult your approved chart of accounts before changing it.
- Example / selection
- NexCommand AI LLC
- Expected result
- The saved warehouse can be selected in stock transactions.
{ERP_URL}/desk/warehouse/{RECORD_ID}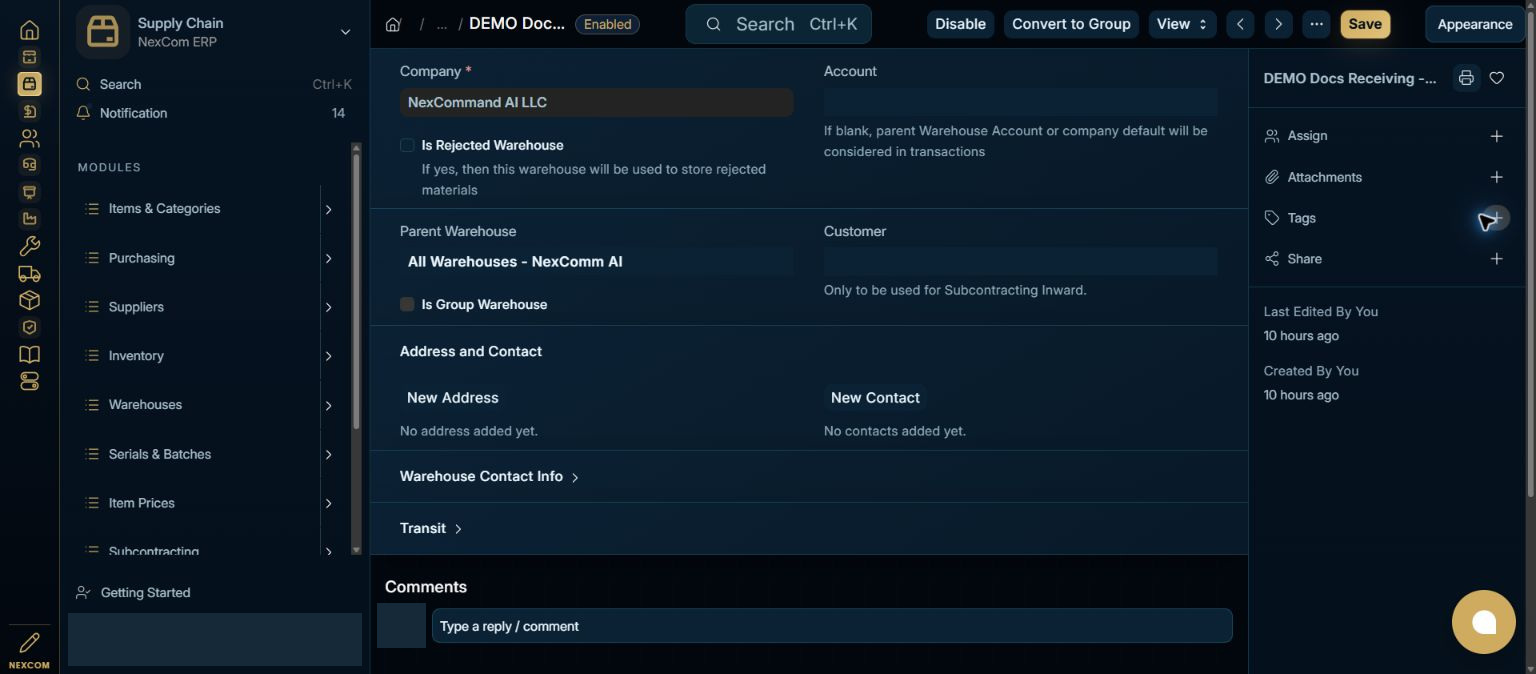
Verified result
The warehouse was saved and used for a submitted ten-unit receipt, two-unit transfer and one-unit reconciliation adjustment.
Troubleshooting
Wait for Link search results and choose the exact record. Leave each edited field to commit its value. Check required dates in every item row. A saved draft and a submitted record are different states. If validation fails, correct the highlighted field and verify the saved result before continuing.